
Click Here to Go Straight to the Installation How-To
If you’ve ever been in the market for an acoustic underlayment, you’ve probably been reminded to use perimeter isolation strips in conjunction with the mat.
And you probably didn’t.
It’s okay, you’re not alone. I’ve come across so many people- from amateur DIY-ers to professional contractors- who don’t think this extra step is necessary or worth the additional cost or effort. On the contrary, for just a little bit of extra effort and for an additional $0.25 or so per linear foot, you will be safeguarding the effectiveness of your investment in acoustical insulation. Here’s why you need perimeter isolation strips:
Acoustics
Question: What’s the speed of sound in air?
Answer: 1130 feet per second.
That’s fast, right? But what’s faster is the speed of sound in common building materials! Once sound gets into the structure of your building, it will be traveling 10-15 times faster than it does through air. Take a second to consider how fast that is. When you are having a face-to-face conversation, how would you describe how quickly you hear them? The word immediately comes to mind for me. So, if immediate can be used to describe something traveling at 1130 feet per second, what does something traveling at 16,000 feet per second mean? If you’re in the business of multifamily homes, high turnover, complaints, and even lawsuits might come to mind. All this is just to show you that structure-borne sound transmission can be incredibly difficult to contain. So in this case the old adage rings true: the best defense is a good offense. Here’s why:
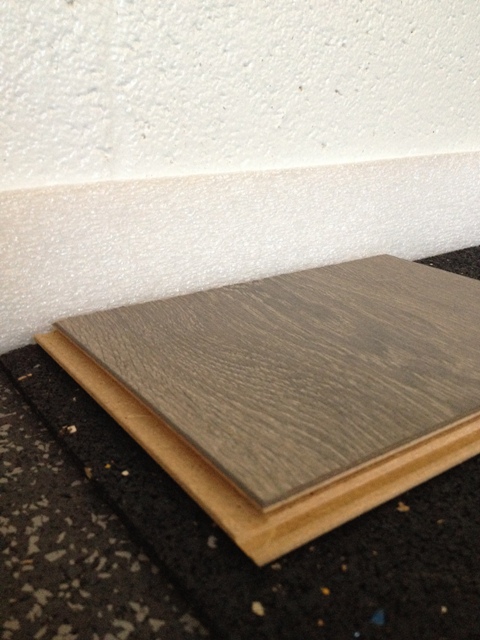
The acoustical underlayment is intended to prevent the vertical transmission of impact sound (such as footsteps and dragging of chairs) from one room to the space below. What’s commonly overlooked is the need to prevent lateral sound transmission as well. A perimeter isolation strip is to your acoustical underlayment like an offensive line is to your Tom Brady. While the energy from an impact on your flooring will mostly move vertically to the space below, there is a considerable amount of energy that can travel laterally through the flooring itself to the walls. If the flooring is in direct contact with the walls, the energy can easily be transmitted into the walls and anything they are in direct contact with: screws, studs, framing- and by this point the energy can be heard or felt in adjacent rooms and even the rooms above. The use of perimeter isolation strips will eliminate the direct connection between the flooring and the framing members. This is especially important where rigid materials such as laminate or tile are used. (Cue a discussion on acoustic impedance here!)
Other Considerations
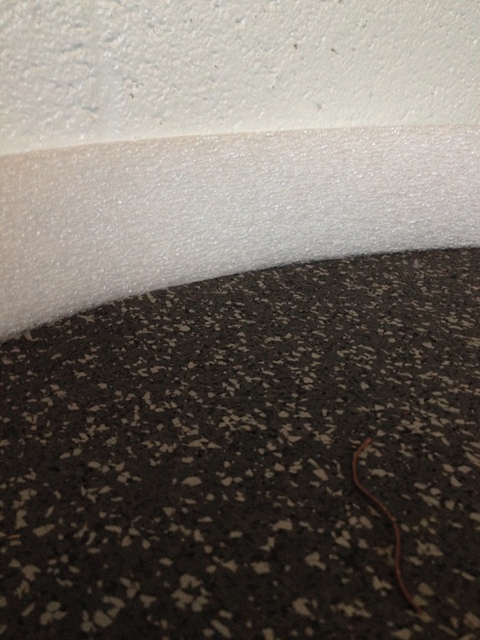
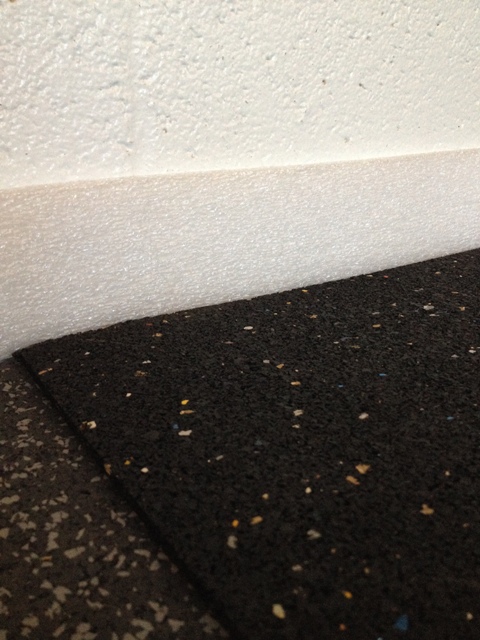
Another issue commonly overlooked is the reality that both flooring and underlayments will expand and contract with the environmental conditions. This can result in buckling or bubbling during expansion, and loose and shifting flooring materials during contraction. Foam perimeter isolation strips provide just enough give to accommodate any expansion, and enough integrity to keep everything in place during contraction.
Now that you are well-versed in the need for perimeter isolation, let’s move on to how they should be installed.
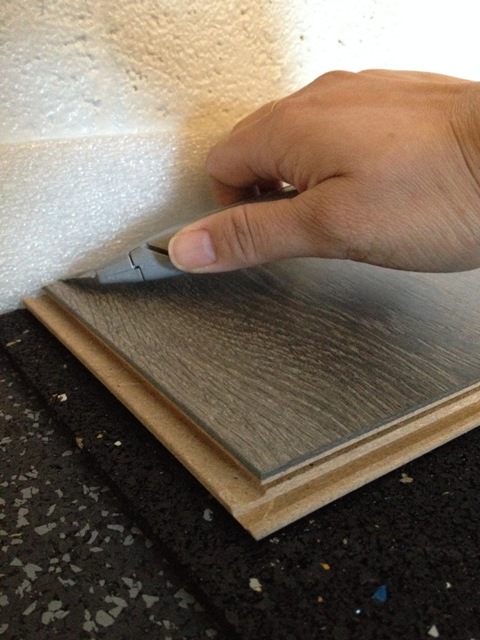
Installation
- PDF Click Here for a Printable Version of the Installation Instructions
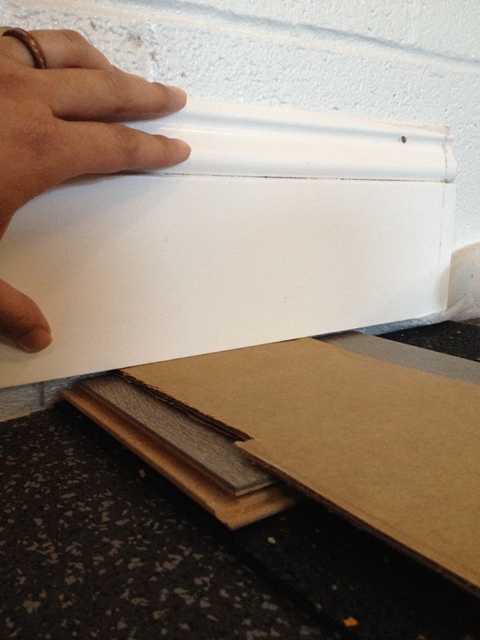
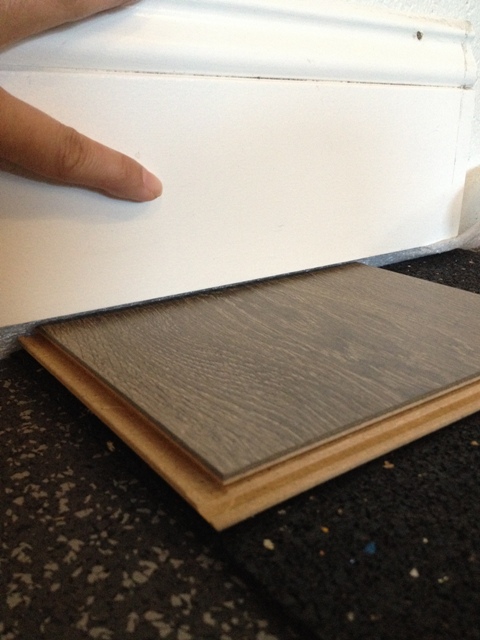
Here’s the video version: